Tag: DIY crochet

  • Crochet Gnome Keychain Pattern – Step-by-Step Instructions

    Crochet Gnome Keychain Pattern – Step-by-Step Instructions

    Crochet Gnome Keychain Pattern – Step-by-Step Instructions

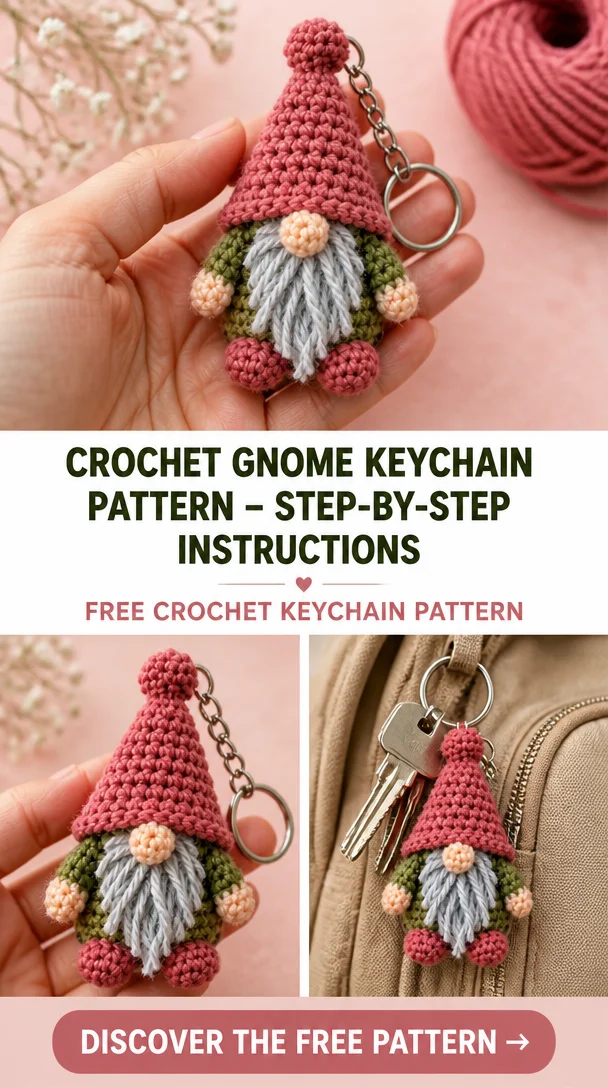
    Welcome to the delightful world of crochet with this charming Crochet Gnome Keychain pattern! This adorable accessory features a whimsical gnome sporting a pink pointed hat, a fluffy gray beard, and a cozy green outfit. Perfect for anyone who loves to add a touch of handmade magic to their life, this crochet gnome keychain can serve as a lovely keychain, a decorative bag charm, or a thoughtful handmade gift for a friend. Whether you’re an experienced crocheter or a beginner looking for an enjoyable project, this pattern is designed with easy-to-follow instructions for crafting each individual part and assembling them into an enchanting finished piece. Grab your yarn, and let’s get started on this sweet little gnome!

    Crochet Keychain Pattern Overview

    • Skill Level: Beginner-friendly
    • Finished Size: Approximately 3-4 inches tall
    • Crochet Hook Size: 3.5 mm (E)
    • Yarn Type: Medium weight acrylic yarn
    • Yarn Weight: Worsted
    • Main Colors: Pink, gray, green
    • Construction Method: Worked in rounds and assembled
    • Approximate Completion Time: 2-3 hours
    • Project Structure: Constructed in separate pieces
    • Keychain Attachment: Keychain ring or clasp

    Materials You’ll Need

    • Medium weight acrylic yarn in pink, gray, and green
    • Crochet hook (3.5 mm / E)
    • Keychain ring or clasp
    • Yarn needle
    • Stitch marker
    • Scissors
    • Stuffing (if required)
    • Safety eyes (if specified)
    • Embroidery thread (for facial features)

    Crochet Abbreviations

    • MR = magic ring
    • ch = chain
    • sc = single crochet
    • inc = increase
    • dec = decrease
    • st = stitch
    • rep = repeat

    Before You Start

    Before diving into this project, keep a few handy tips in mind:

    • Work in Continuous Rounds: This will help avoid a noticeable seam.
    • Use a Stitch Marker: Keep track of your rounds by placing a stitch marker in the first stitch of each round.
    • Maintain Even Stitches: Aim for tight, even stitches to ensure a neat appearance.
    • Check Your Work Frequently: Count your stitches at the end of each round to prevent mistakes.
    • Prepare the Keychain Attachment: Have your keychain ring or clasp ready for when you finish your gnome.

    Free Crochet Keychain Pattern

    Foundation or Magic Ring

    Round 1: Create a magic ring and work 6 sc into the ring. (6)

    Main Body

    Round 2: Inc in each st around. (12)

    Round 3: Sc in next st, inc in next st; repeat around. (18)

    Round 4-6: Sc in each st around. (18)

    Head

    Round 7: Sc in next st, dec in next st; repeat around. (12)

    Round 8: Sc in each st around. (12)

    Ears

    Round 9: Attach yarn at the top of the head. Ch 3, sl st back into the same st to form the ear. Repeat for the other ear.

    Arms and Legs

    • Arms: Work 4 sc in a separate magic ring. Finish off and leave a long tail for sewing.
    • Legs: Work 6 sc in a separate magic ring, then finish off.

    Decorative Details

    • Hat: Ch 5, and work a row of dc, then seam together as you curl it into the shape of a hat before attaching it to the head.

    Joining the Pieces

    Attach the arms and legs to the body with a yarn needle, ensuring they are evenly positioned.

    Attaching the Keychain Ring

    To attach the keychain ring, make a narrow loop from the top of the gnome’s head and secure it tightly, ensuring that it can support the weight of your charm. Trim any excess yarn and hide the ends.

    Finishing Details

    Once your piece is assembled, you can add embroidered facial features if desired, adjusting your gnome’s expression to fit your personal style. A bit of fluff should be added to the beard to give it a soft appearance.

    How to Use Your Crochet Keychain

    This delightful gnome keychain can embellish your keys, serve as a charming backpack hanging, or act as a thoughtful handmade gift for loved ones. Its cozy appearance makes it an endearing accessory!

    Tips for a Better Result

    • Maintain Even Tension: This will help your keychain keep its shape.
    • Keep Stitches Neat: Avoid visible stuffing by ensuring it is evenly distributed.
    • Work with Small Pieces: Take your time with smaller components to avoid frustration.

    Crochet Keychain Customization Ideas

    Customize your gnome keychain with different yarn colors, embroidered details, or even various types of yarn for texture. Swap keychain hardware to personalize it further.

    Common Problems and Troubleshooting

    1. Uneven Stitch Counts: Check your counts at the end of each round.
    2. Visible Stuffing: Use a smaller hook or tighter stitches to avoid gaps.
    3. Crooked Facial Features: Adjust as needed or re-embroider for symmetry.

    Care and Safety

    Care for your crochet keychain according to the yarn manufacturer’s recommendations. Be mindful of small detachable parts that could pose a choking hazard.

    Frequently Asked Questions

    • Is this crochet keychain pattern beginner-friendly?
      Yes, the pattern is designed for beginners with clear, easy-to-follow steps.

    • What yarn is best for crochet keychains?
      Medium weight acrylic yarn is recommended for durability and ease.

    • How long does it take to crochet a keychain?
      Approximately 2-3 hours, depending on your crochet speed.

    • Can I make this crochet keychain larger or smaller?
      Yes, adjustments can be made by changing hook size or yarn weight.

    • How do I attach a keychain ring?
      Create a loop at the top of the gnome’s head and secure it to the ring before finishing.

    Conclusion

    Creating your own Crochet Gnome Keychain is not only fun but results in a charming accessory that showcases your crochet skills. Add a splash of color and personality to your keys or bag with this delightful project!


    SEO Title: Crochet Gnome Keychain Pattern – Easy and Cute

    Meta Description: Craft a charming crochet gnome keychain with our easy, step-by-step pattern! Perfect for beginners and as a delightful gift.

    URL Slug: crochet-gnome-keychain-pattern

    Primary Keyword: crochet gnome keychain pattern

    Secondary Keywords: free crochet keychain pattern, easy crochet keychain, mini crochet keychain, handmade crochet keychain

    Image 1 Alt Text: Charming crochet gnome keychain with pink hat and gray beard

    Image 2 Alt Text: Finished crochet gnome keychain displayed with bag charm accessories
  • Free Crochet Keychain Pattern – 14 Quick and Fun Ideas You’ll Love

    Free Crochet Keychain Pattern – 14 Quick and Fun Ideas You’ll Love

    14 Crochet Keychain Pattern Ideas (Quick & Fun)

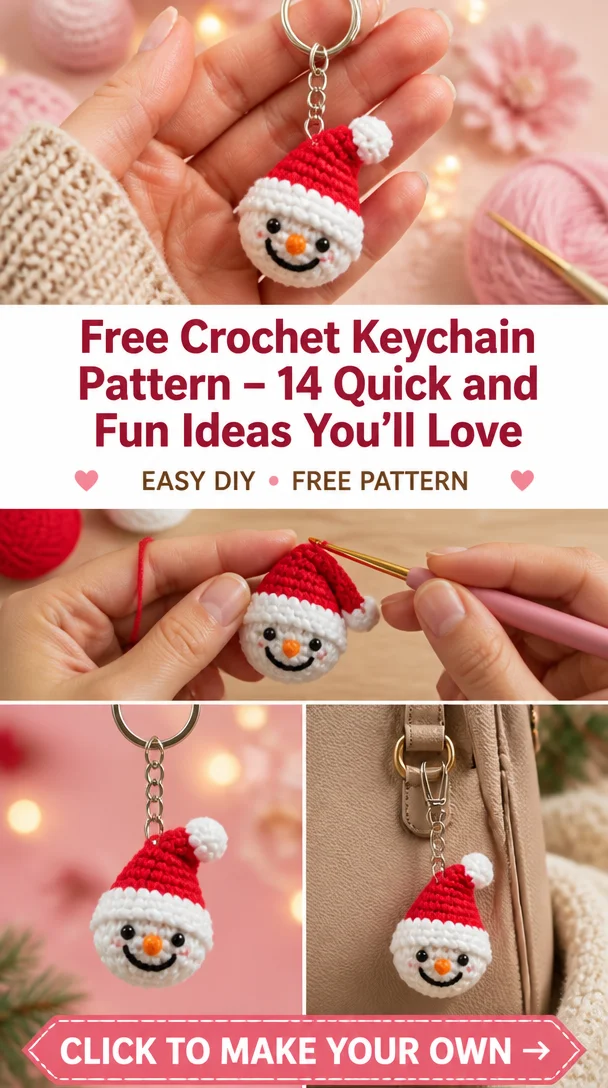
    Crochet keychains are delightful little accessories that showcase creativity and skill in a compact form. Perfect for expressing personal style, these mini amigurumi creations combine charm with functionality, allowing you to carry a piece of art wherever you go. Whether shaped like adorable animals, vibrant flowers, or charming fruits, crochet keychains make for unique bag charms, practical key holders, or heartfelt handmade gifts for loved ones. These patterns are suitable for various skill levels, making them great projects for beginners and experienced crocheters alike.

    Crochet Keychain Pattern Overview

    • Skill Level: Beginner to Intermediate
    • Finished Size: Approximately 3-4 inches
    • Crochet Hook Size: G (4.0 mm)
    • Yarn Type: 100% Acrylic or Cotton
    • Yarn Weight: Light (Weight 3)
    • Main Colors: Varied depending on design (specific colors will be outlined in each pattern)
    • Construction Method: Worked in rounds
    • Approximate Completion Time: 1-3 hours
    • Special Features: Keychain attachment included

    Materials You’ll Need

    • Worsted weight yarn in chosen colors
    • G (4.0 mm) crochet hook
    • Keychain ring or clasp
    • Yarn needle
    • Stitch marker
    • Scissors
    • Stuffing (if applicable)
    • Safety eyes (if specified)
    • Embroidery thread (if specified)

    Crochet Abbreviations

    • MR = magic ring
    • ch = chain
    • sc = single crochet
    • inc = increase
    • dec = decrease
    • st = stitch
    • rep = repeat

    Before You Start

    Before diving into your crochet keychain project, keep these tips in mind:

    • Use a stitch marker to keep track of your rounds if working in continuous rounds.
    • Maintain tight, even stitches to avoid gaps, particularly in smaller pieces.
    • Plan any color changes you want to make in advance to ensure smooth transitions.
    • If the design involves multiple pieces, be prepared for assembly after completing each component.

    Free Crochet Keychain Pattern

    Depending on your selected design, here’s how to crochet a cute mini animal keychain as an example:

    Foundation or Magic Ring

    Begin with a magic ring.

    Round 1: 6 sc in MR (6)

    Round 2: Inc in each st around (12)

    Main Body

    Round 3: Sc in next st, inc around (18)

    Round 4: Sc in next 2 st, inc around (24)

    Round 5: Sc in each st around for 4 rounds.

    Round 6: Sc in next 2 st, dec around (18)

    Head

    To create the head, follow similar increases:

    Round 1: 6 sc in MR (6)

    Continue to increase as needed until the desired size is reached.

    Ears

    Create two ears:

    Round 1: 3 sc in MR (3)

    Round 2: Sc in each st around for 2 rounds.

    Arms and Legs

    For small arms/legs, you can follow:

    Round 1: 4 sc in MR (4)

    Make two of each.

    Decorative Details

    For facial features, use embroidery thread to create eyes and a mouth.

    Attaching the Keychain Ring

    Attach the keychain ring at the top of the head. Make sure to secure it well.

    Keychain Construction and Assembly

    • Sew the head onto the body securely.
    • Attach arms and legs as described in their sections.
    • Position safety eyes or embroider features before assembling.

    Attaching the Keychain Ring or Clasp

    Once your pieces are assembled:

    • Position your keychain ring at the top of the head.
    • Secure with a tight stitch, ensuring it’s firmly attached.

    Finishing Details

    Complete the look by securing any loose ends and adding decorative elements like bows or small accessories.

    How to Use Your Crochet Keychain

    These adorable crochet keychains can serve multiple purposes:

    • As a key holder
    • A charm for bags or backpacks
    • A unique gift for friends
    • A small decorative piece in your home

    Tips for a Better Result

    • Maintain consistent tension across your stitches to keep the form neat.
    • Take care when working on small pieces to avoid any mishaps.
    • If you are looking to change colors, do so at the end of the rounds for cleaner transitions.

    Crochet Keychain Customization Ideas

    Feel free to modify your keychain design:

    • Use different color combinations for a personal touch.
    • Add tiny embellishments like beads or sequins.
    • Change the size of the keychains by adjusting yarn weight.

    Common Problems and Troubleshooting

    • If you notice uneven stitch counts, double-check the rounds.
    • Tighten loose stitches to prevent gaps.
    • If stuffing is visible, ensure you are using the correct yarn weight for neatness.

    Care and Safety

    To clean your crochet keychain, follow the care instructions specified on the yarn label. Always supervise children when using keychains with small detachable parts.

    Frequently Asked Questions

    • Is this crochet keychain pattern beginner-friendly?
      Yes, it’s perfect for beginners with simple stitches.

    • What yarn is best for crochet keychains?
      100% acrylic or cotton yarn works well.

    • How long does it take to crochet a keychain?
      Depending on skill level, it usually takes 1-3 hours.

    • Can I make this crochet keychain larger or smaller?
      Adjust the yarn weight and hook size as desired.

    • How do I attach a keychain ring?
      Securely stitch it to the top of your keychain.

    Conclusion

    Creating crochet keychains is a fun and rewarding experience, allowing you to showcase your creativity in a small, delightful format. Whether keeping them for yourself or gifting them to loved ones, these quick and fun projects are sure to bring joy!


    SEO Title: 14 Cute and Quick Crochet Keychain Patterns
    Meta Description: Discover 14 free crochet keychain patterns that are quick, fun, and perfect for personalizing your bags or as handmade gifts!
    URL Slug: crochet-keychain-patterns
    Primary Keyword: free crochet keychain pattern
    Secondary Keywords: crochet keychain, easy crochet keychain, crochet keychain gift ideas, mini crochet keychain, DIY crochet keychain
    Image 1 Alt Text: Colorful crochet keychains hanging from a bag
    Image 2 Alt Text: Handmade crochet keychains in various shapes and colors

  • FREE Crochet Hair Scarf Bandana Pattern!

    FREE Crochet Hair Scarf Bandana Pattern!

    FREE Crochet Hair Scarf Bandana Pattern!

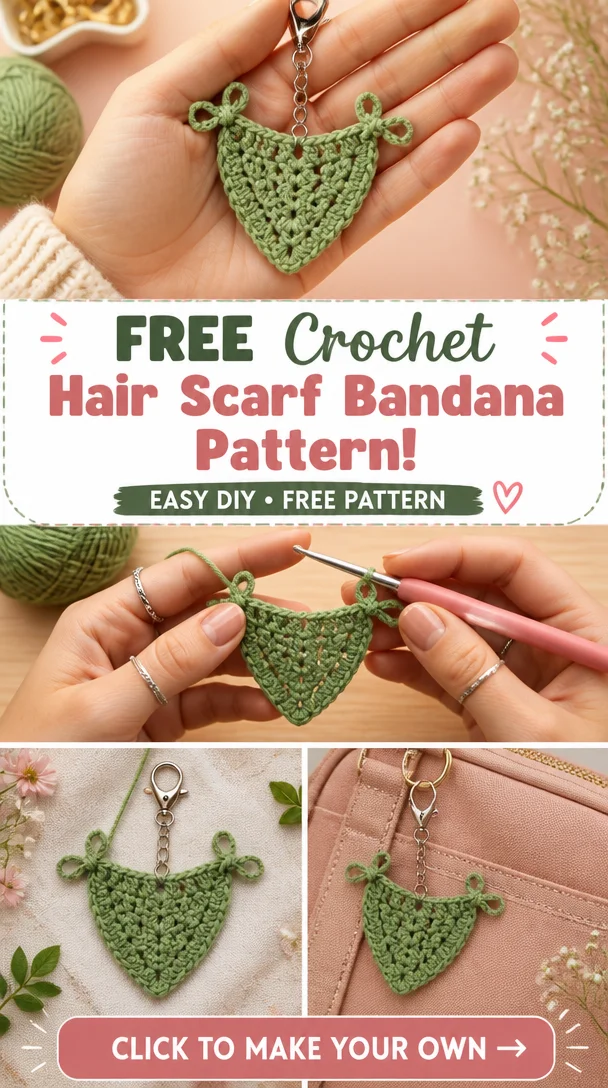
    Get ready to adorn your keys, bags, or even gift your friends with a delightful crochet keychain! The FREE Crochet Hair Scarf Bandana Pattern is not only functional but also incredibly cute. Utilizing the charming crochet granny stitch, this design features a lacy and fun triangle shape that adds a touch of creativity to any accessory. Whether you’re a beginner or an experienced crocheter, this keychain is a perfect project to undertake. It serves not just as a practical keychain but also as a beautiful bag charm or a thoughtful handmade gift. Let’s dive in and learn how to create this lovely accessory!

    Crochet Keychain Pattern Overview

    • Skill Level: Beginner
    • Finished Size: To be determined based on personal preference
    • Crochet Hook Size: To be chosen based on yarn
    • Yarn Type: Cotton or acrylic
    • Yarn Weight: Light to medium
    • Main Colors: Variations based on your choice
    • Construction Method: Worked in rows using granny stitch technique
    • Approximate Completion Time: 1-2 hours
    • Project Type: Beginner-friendly and made in rows
    • Keychain Attachment: Keychain ring or clasp

    Materials You’ll Need

    • Yarn (cotton or acrylic)
    • Crochet hook (size according to yarn)
    • Keychain ring or clasp
    • Yarn needle
    • Stitch marker
    • Scissors
    • Optional: decorative elements like beads or embroidery thread

    Crochet Abbreviations

    • MR = magic ring
    • ch = chain
    • sc = single crochet
    • hdc = half double crochet
    • dc = double crochet
    • sl st = slip stitch
    • inc = increase
    • dec = decrease
    • st = stitch
    • rep = repeat

    Before You Start

    Before embarking on your crochet keychain journey, there are a few tips to enhance your experience. Be sure to work with tight, even stitches to produce a neat finish. Keeping a stitch marker handy can help you track your rounds easily. Plan any color changes beforehand to achieve a harmonious look. If you will be working in rows, remember to check your stitch counts regularly to avoid losing or gaining stitches as you work.

    Free Crochet Keychain Pattern

    Foundation or Magic Ring

    Round 1: Create a magic ring to begin.

    Main Body

    Round 2: Chain 3, and then work the granny stitch into your magic ring as instructed.

    Round 3: Continue the granny stitch pattern, expanding your work according to your desired size.

    Attaching the Keychain Ring

    To finish off your keychain, thread a yarn needle through the last stitch to secure it. Attach your keychain ring or clasp to the top point of the triangle securely.

    Keychain Construction and Assembly

    Assemble your crocheted piece by weaving in any loose ends. Ensure your stitches are tight, preventing any gaps. Position any decorative elements like beads or embroidery as desired before securing them.

    Finishing Details

    Complete your keychain by ensuring all yarn ends are tucked in neatly. Add any final touches, like embroidered features or additional embellishments to enhance its visual appeal.

    How to Use Your Crochet Keychain

    Your finished crochet keychain can be used in various ways: as a charming accessory for your keys, a cute bag charm, or a thoughtful handmade gift that friends and loved ones will appreciate.

    Tips for a Better Result

    To ensure a polished result, focus on maintaining even tension throughout your project. Pay attention to your stitch count, especially with smaller pieces. If you’re using different colors, practice clean transitions for a professional finish.

    Crochet Keychain Customization Ideas

    Personalize your crochet keychain by experimenting with different yarn colors or combinations. You can also try adding embroidered details or even decorative bows for an extra touch.

    Common Problems and Troubleshooting

    If you encounter uneven stitch counts, check back through your rounds for any dropped stitches. For loose stitches, try using a smaller hook next time. If your keychain attachment feels loose, reinforce it by making sure your final knot is tight.

    Care and Safety

    To care for your handmade crochet keychain, adhere to the cleaning instructions specific to your yarn. Keep in mind that small detachable parts can pose a hazard for children, so it’s wise to avoid giving these as toys.

    Frequently Asked Questions

    • Is this crochet keychain pattern beginner-friendly? Yes, it’s suitable for beginners!
    • What yarn is best for crochet keychains? A cotton or acrylic yarn works well.
    • How long does it take to crochet a keychain? Approximately 1-2 hours, depending on your pace.
    • Can I make this crochet keychain larger or smaller? Yes, you can adjust the size based on your preferences.
    • How do I attach a keychain ring? Simply secure it at the top point after finishing your work.

    Conclusion

    Making the FREE Crochet Hair Scarf Bandana Pattern into a keychain is a fun and rewarding experience. Its versatility as an accessory adds charm wherever you go—be it on your keys, bag, or as a heartfelt gift. Grab your materials and start crafting your unique keychain today!


    SEO Title: Create Your Own Crochet Hair Scarf Bandana Keychain
    Meta Description: Discover this FREE Crochet Hair Scarf Bandana Pattern – A charming crochet keychain tutorial perfect for beginners and unique handmade gifts!
    URL Slug: crochet-hair-scarf-bandana-keychain
    Primary Keyword: crochet keychain pattern
    Secondary Keywords: free crochet keychain pattern, easy crochet keychain, amigurumi keychain pattern, crochet accessories, handmade crochet keychain
    Image 1 Alt Text: Crochet hair scarf bandana keychain in vibrant colors
    Image 2 Alt Text: Close-up of a crocheted bandana keychain with decorative elements

  • Free Crochet Keychain Pattern – A Cute Bird Keychain You’ll Love

    Free Crochet Keychain Pattern – A Cute Bird Keychain You’ll Love

    Free Amigurumi Crochet Pattern: 10-Minute Baby Bird | Crochet small bird, Crochet patterns for beginners animals, Cute crochet presents

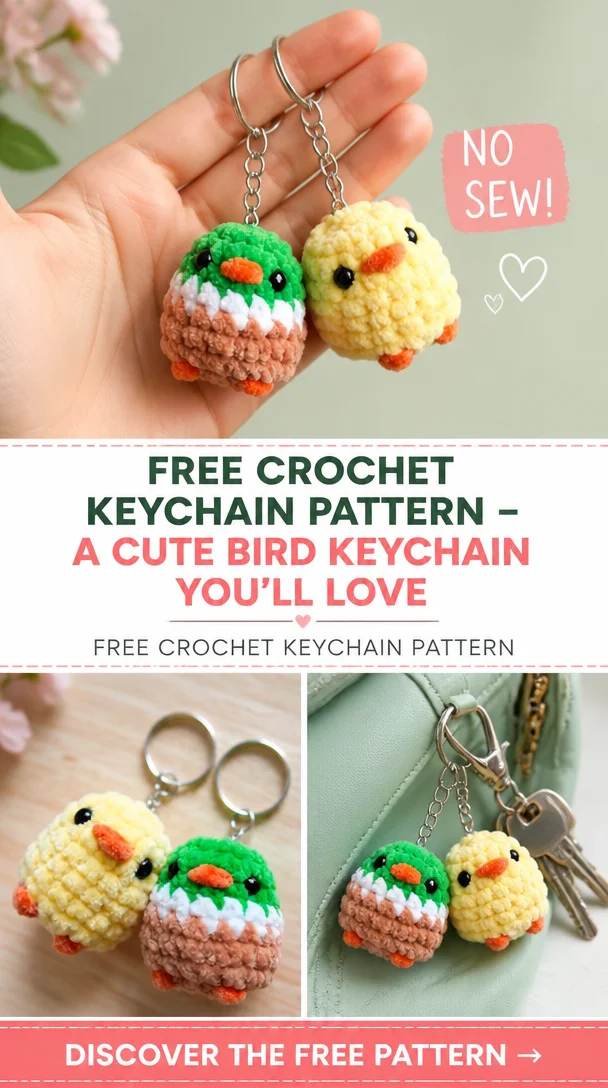
    Welcome to the delightful world of crochet with this charming 10-Minute Baby Bird keychain pattern! Perfect for beginners, this adorable mini amigurumi project not only serves as a sweet accessory but also a thoughtful gift. Imagine this tiny bird, with its distinctive round body and beak, adorning your keys or bag. The delightful design adds a touch of whimsy wherever it goes. Crocheting this cute little bird is a straightforward and enjoyable task that you can complete in no time at all, making it a fantastic choice for those looking to craft unique handmade presents. Whether you’re keeping it for yourself or gifting it to a friend, this little bird is sure to bring a smile!

    Crochet Keychain Pattern Overview

    • Skill Level: Beginner
    • Finished Size: Approximately 2 inches
    • Crochet Hook Size: 3.0 mm (D)
    • Yarn Type: Cotton or acrylic yarn
    • Yarn Weight: Light (Weight 3)
    • Main Colors: Yellow and white (or colors of your choice)
    • Construction Method: Worked in rounds
    • Approximate Completion Time: 10 minutes
    • Keychain Attachment: Keychain ring

    Materials You’ll Need

    • Light-weight yarn in your chosen colors (e.g., yellow for the body, black for the eyes)
    • Crochet hook (3.0 mm / D)
    • Keychain ring or clasp
    • Yarn needle
    • Scissors
    • Stuffing (optional for a puffier bird)
    • Safety eyes (optional)
    • Embroidery thread for facial features (optional)

    Crochet Abbreviations

    • MR = magic ring
    • ch = chain
    • sc = single crochet
    • inc = increase
    • dec = decrease
    • st = stitch
    • rep = repeat

    Before You Start

    Before diving into the crochet pattern, it’s important to familiarize yourself with the magic ring method, which forms the base for the bird. Keep a stitch marker handy to mark each round, ensuring your work stays neat and organized. Maintain tight, even stitches to give your bird a polished look. If you’re using safety eyes, consider inserting them before final stuffing. Remember, this project will be worked in continuous rounds, so make sure to count your stitches accurately!

    Free Crochet Keychain Pattern

    Foundation or Magic Ring

    1. Create a magic ring (MR).
    2. Round 1: 6 sc into the ring (6 sts).
    3. Round 2: Inc in each st around (12 sts).
    4. Round 3: Sc in next st, inc; rep around (18 sts).
    5. Round 4: Sc in next 2 sts, inc; rep around (24 sts).
    6. Rounds 5-6: Sc in each st around (24 sts).

    Head

    1. Round 7: Sc in next 2 sts, dec; rep around (18 sts).
    2. Round 8: Sc in each st around (18 sts).
    3. Round 9: Sc in next st, dec; rep around (12 sts).
    4. Stuff the head if desired.
    5. Round 10: Dec around (6 sts).
    6. Fasten off and weave in ends.

    Attaching the Keychain Ring

    1. Using a separate piece of yarn, attach it securely to the center top of the head for the keychain ring.
    2. Insert the metal keychain ring through the yarn loop and tie off, ensuring it’s tight.

    Finishing the Keychain

    1. Embroider or attach safety eyes.
    2. Use embroidery thread to stitch a small beak and any details you’d like.
    3. Weave in any remaining ends and ensure the stuffing is smooth.

    How to Use Your Crochet Keychain

    This delightful crochet bird keychain makes a perfect accessory for your keys, backpacks, or handbags. It’s also a fun gift for friends and family, especially for bird lovers or those who appreciate handcrafted items. Use it to personalize your belongings or as a small token of affection for someone special.

    Tips for a Better Result

    • Maintain even tension throughout your stitches for a neat appearance.
    • Work with small pieces carefully to avoid adjusting the shape.
    • Secure all yarn ends to prevent fraying.

    Crochet Keychain Customization Ideas

    • Use different colors for a variety of bird designs.
    • Add embellishments, such as small bows or beads for decoration.
    • Experiment with different yarn types for unique textures.

    Common Problems and Troubleshooting

    • If your stitches are uneven, try tightening your grip.
    • Ensure safety eyes are securely fastened before stuffing.
    • Check alignment of facial features for a balanced look.

    Care and Safety

    Handmade crochet keychains can be gently washed according to yarn care instructions. Always keep small detachable parts away from infants or young children due to safety concerns.

    Frequently Asked Questions

    • Is this crochet keychain pattern beginner-friendly?
      Yes, it’s easy to follow and suitable for novices.

    • What yarn is best for crochet keychains?
      Light-weight cotton or acrylic yarns work great for durability and color variety.

    • How long does it take to crochet a keychain?
      Approximately 10 minutes for this pattern.

    • Can I make this crochet keychain larger or smaller?
      Adjust the yarn weight or hook size for different dimensions.

    • How do I attach a keychain ring?
      Securely attach it to the top of the head using a loop of yarn.

    Conclusion

    The 10-Minute Baby Bird crochet keychain is a delightful, charming project that is both fun to make and perfect for gifting. Its simplicity and cuteness make it an ideal crochet accessory for beginners and experienced crafters alike. So grab your yarn, hook, and let’s get crocheting!


    SEO Title: 10-Minute Crochet Baby Bird Keychain Pattern
    Meta Description: Craft this adorable 10-minute baby bird crochet keychain! Perfect for beginners and an ideal handmade gift or bag charm.
    URL Slug: crochet-baby-bird-keychain
    Primary Keyword: crochet keychain pattern
    Secondary Keywords: easy crochet keychain, free crochet keychain pattern, crochet animal keychain, DIY crochet keychain
    Image 1 Alt Text: Completed 10-Minute Baby Bird crochet keychain
    Image 2 Alt Text: Step-by-step crocheting process for the Baby Bird keychain

Ruby’s Crochet Keychains

Your free crochet ebook

Leave your email address to request your free crochet ebook.

Join Our Community

Your email address will be used to handle your ebook request.Privacy policy